

In this article, I will guide you step by step how to install CentOS 6.
Table of Contents
Some info from wiki:
CentOS (“Community Enterprise Operating System“) is a Linux distribution that attempts to provide a free enterprise class computing platform which has 100% binary compatibility with its upstream source, Red Hat Enterprise Linux (RHEL).[4]
As of versions 5.10 and 6.4, CentOS officially supports the x86 architecture with Physical Address Extension (PAE) and the x86-64 architecture, while a beta release is expected to be available for the PowerPC architecture.[5]
The first CentOS was based upon RHEL version 2.1AS, and was numbered as CentOS version 2.[1]
System Requirements:
- A physical machine with a cdrom or a thumb stick or a virtual machine.
- A CentOS 6.x installation media on a cdrom or a thumb stick
Let’s begin:
I’ll run the installation on a virtual machine but it works exactly the same as with a physical machine.
Step 1
So we begin with inserting the CentOS installation media to the cdrom/thumb stick and start the machine.
Once the computer will realize there’s a media in the drive it will automatically load it and it will look like that:
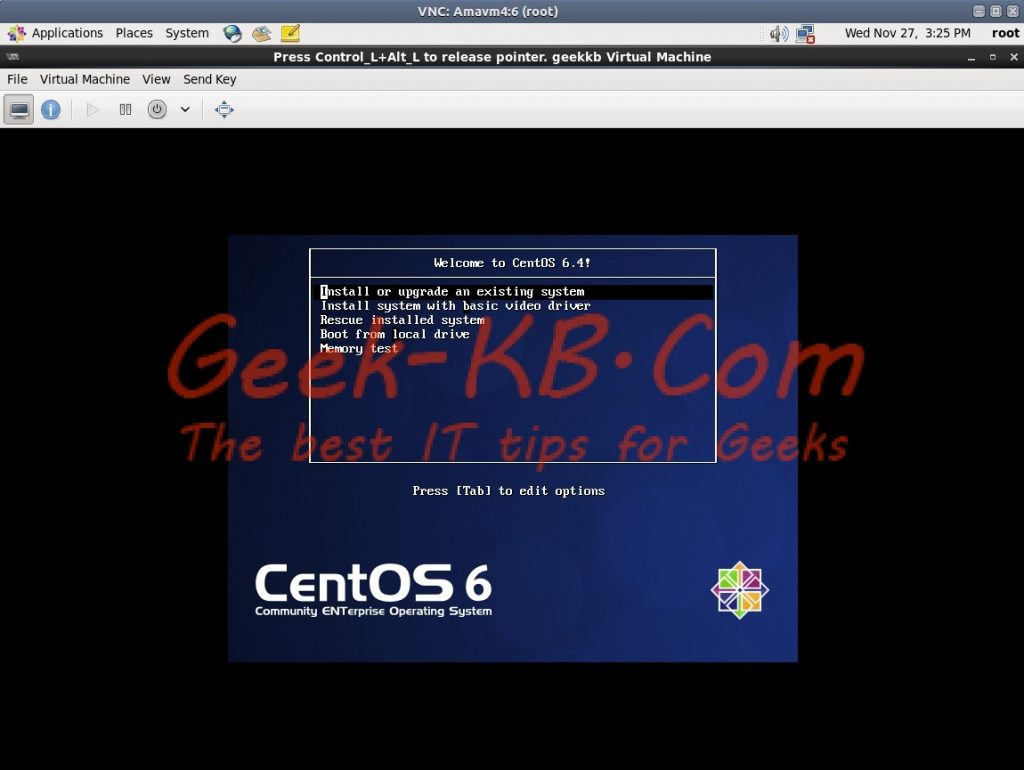
How To: Install CentOS 6.4 step by step with screen shots – Geek-KB.com
Press ‘Enter’ to select the first option, that is “Install or upgrade an existing system”.
Step 2
After 10 seconds or so you will see this window:
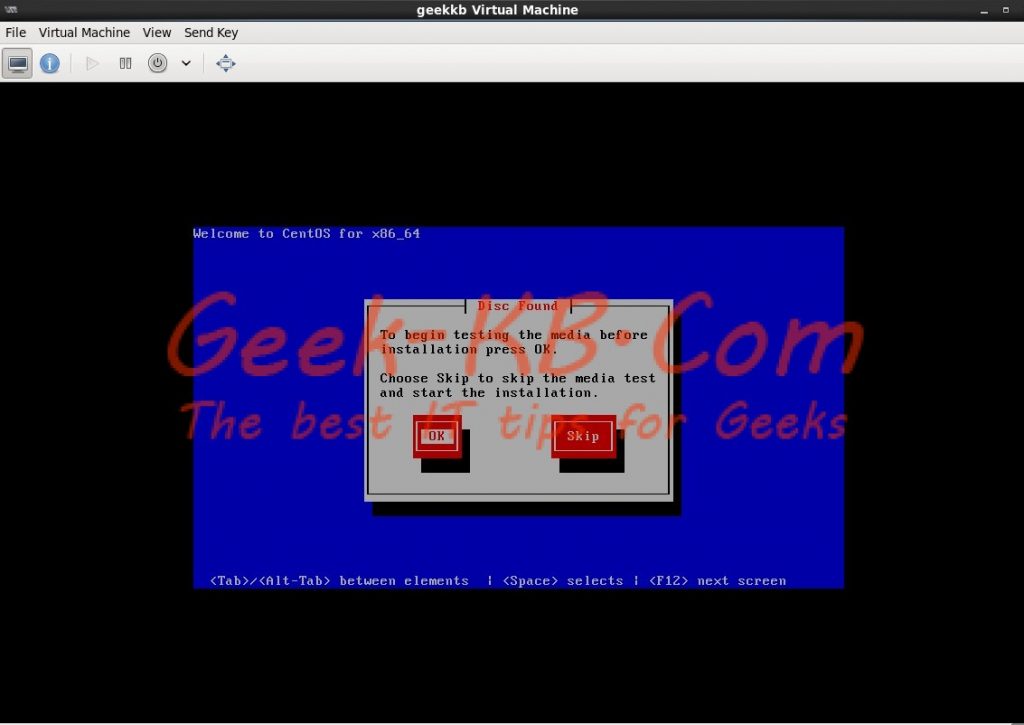
How To: Install CentOS 6.4 step by step with screen shots – Geek-KB.com
This step is a very legacy one, it was relevant for the old days when we used a cd to install the machine (rather than a thumb stick or an image).
I never let it test the media because i’m always installing from an iso image but if you feel the media might be damaged or corrupted then testing it can be smart, otherwise just use ‘Tab’ key to go to Skip and hit ‘Enter’.
Step 3
Use the mouse or ‘Tab’ key to get to the the Next button and click ‘Enter’.
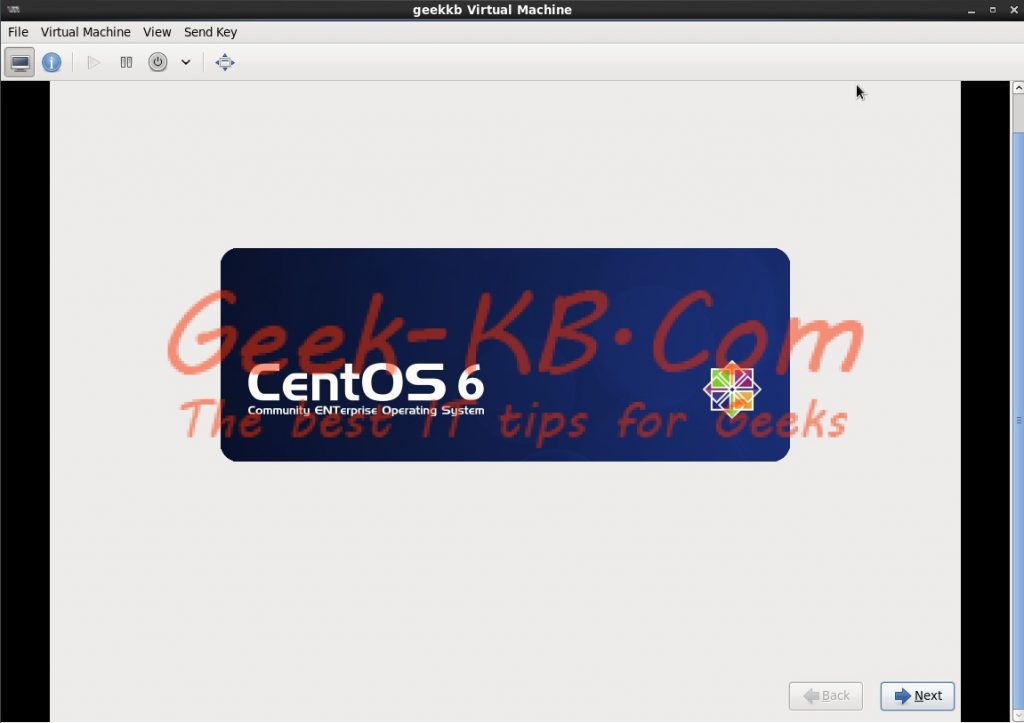
How To: Install CentOS 6.4 step by step with screen shots – Geek-KB.com
Step 4
Choose the language you wish to install as the default one and click Next.
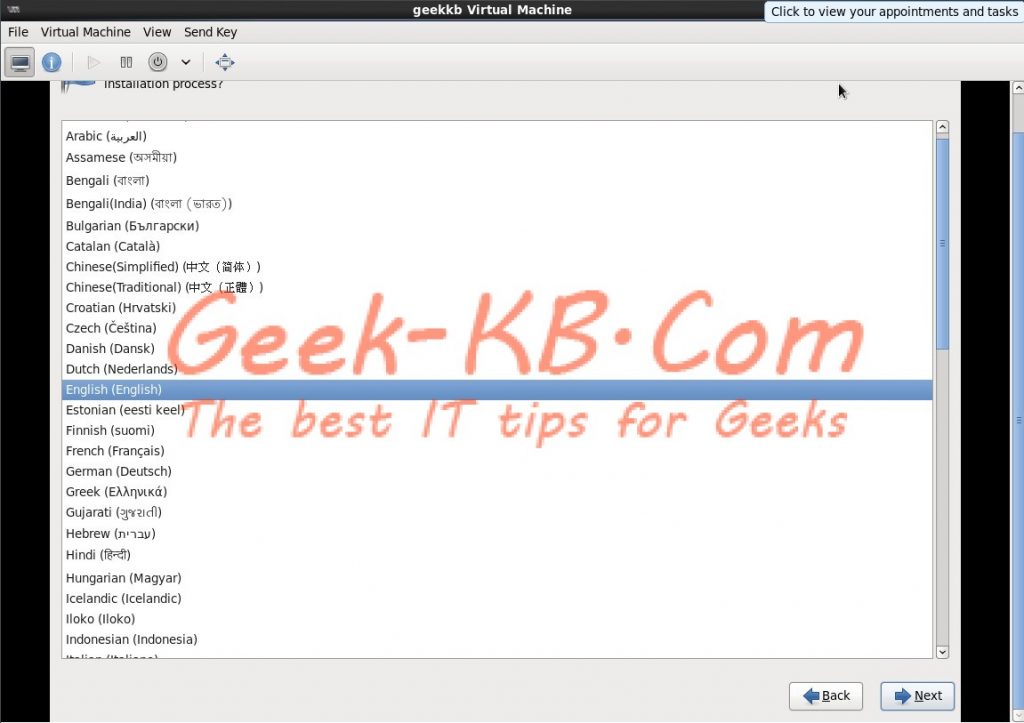
How To: Install CentOS 6.4 step by step with screen shots – Geek-KB.com
Step 5
Choose the type of storage we’re going to use, I choose Basic Storage Device and click Next.
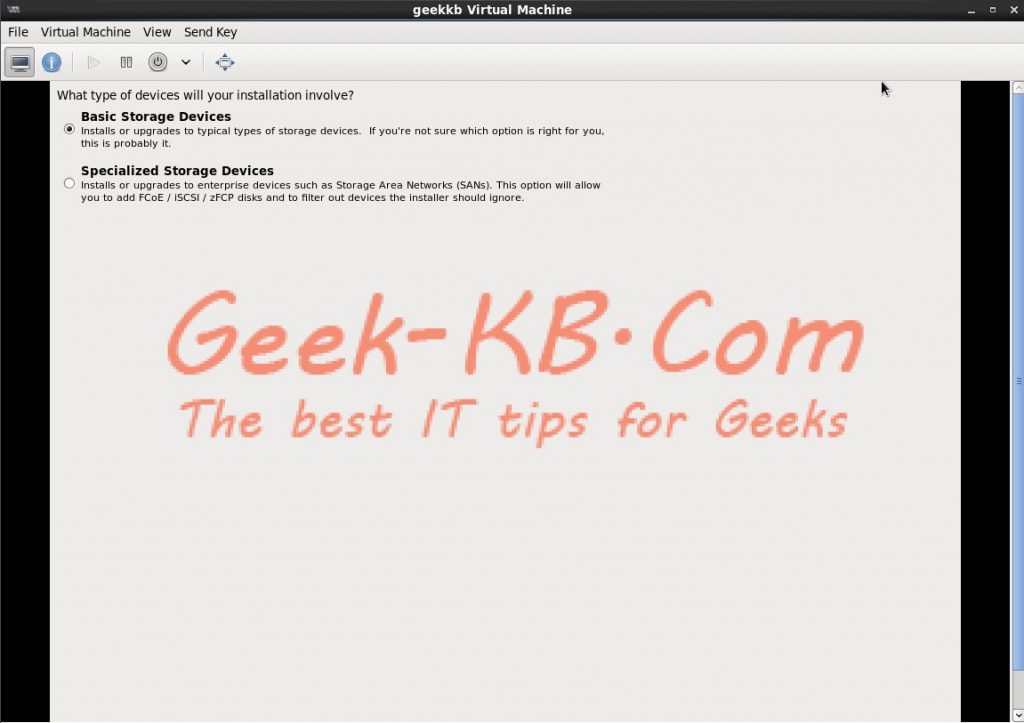
How To: Install CentOS 6.4 step by step with screen shots – Geek-KB.com
Step 6
The installation notifies me that it couldn’t find any Linux related drives and makes sure that there’s no valuable information on the disk, I choose ‘Yes, Discard and data’:
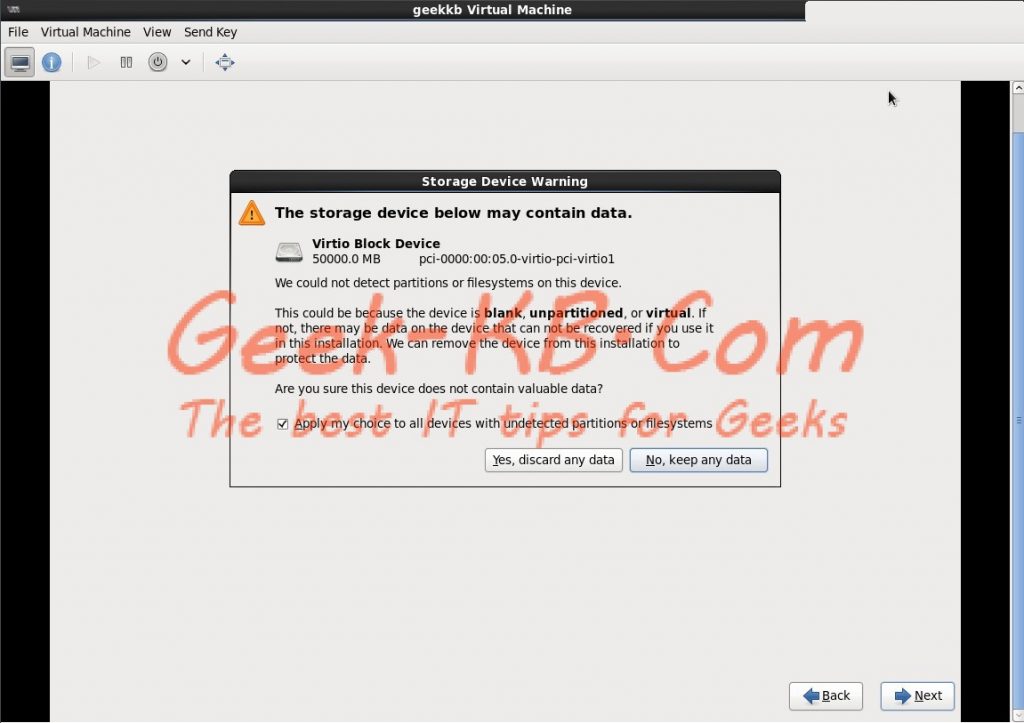
How To: Install CentOS 6.4 step by step with screen shots – Geek-KB.com
Step 7
Choose the desired hostname for the machine we’re installing, I choose geekkb.local and then click Next:
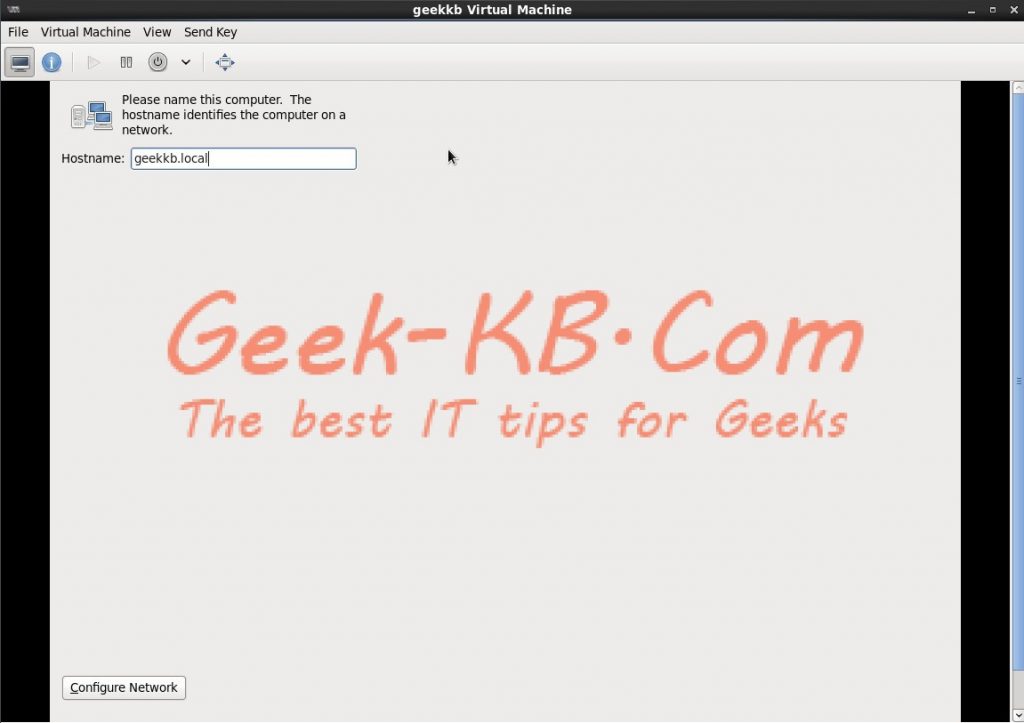
How To: Install CentOS 6.4 step by step with screen shots – Geek-KB.com
Step 8
Choose the timezone, and click Next:
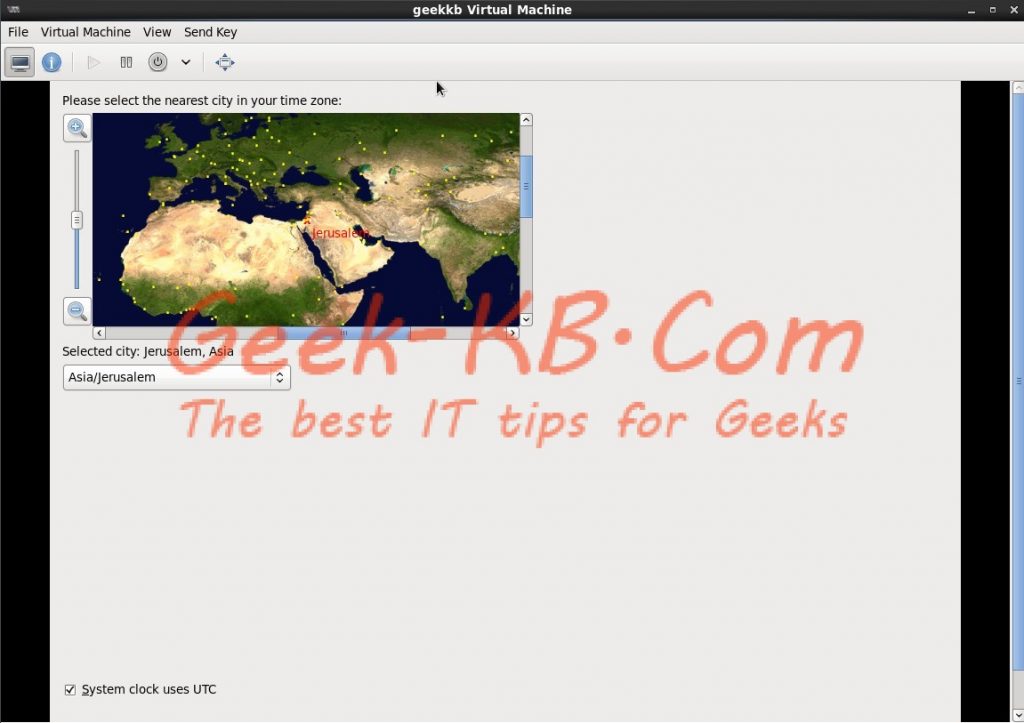
How To: Install CentOS 6.4 step by step with screen shots – Geek-KB.com
Step 9
Set the desired root password:
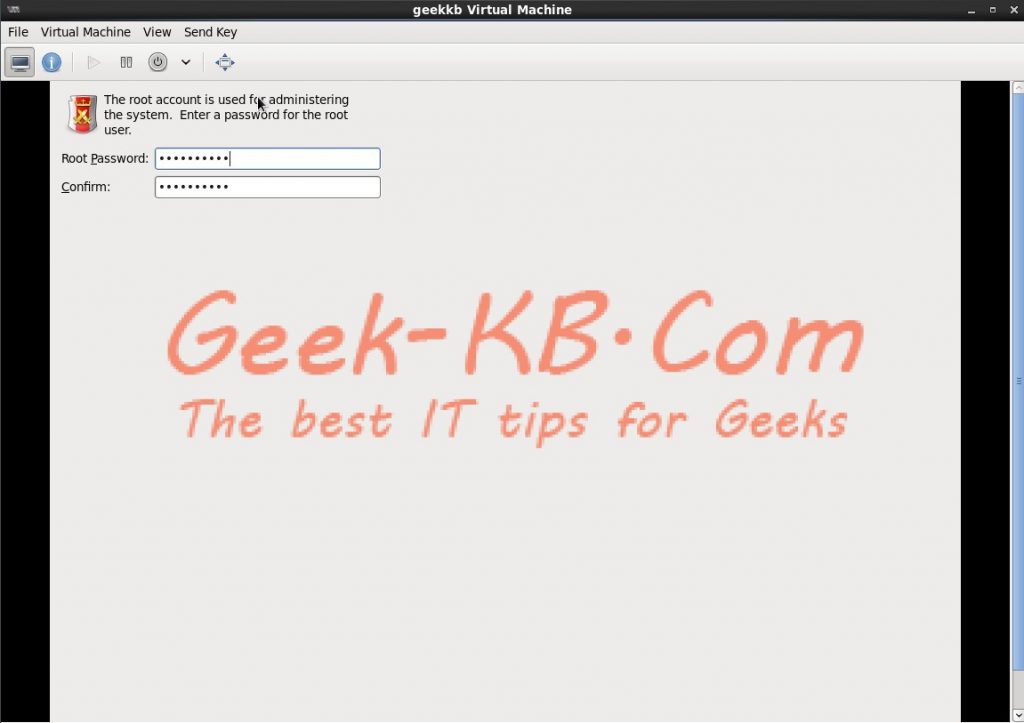
How To: Install CentOS 6.4 step by step with screen shots – Geek-KB.com
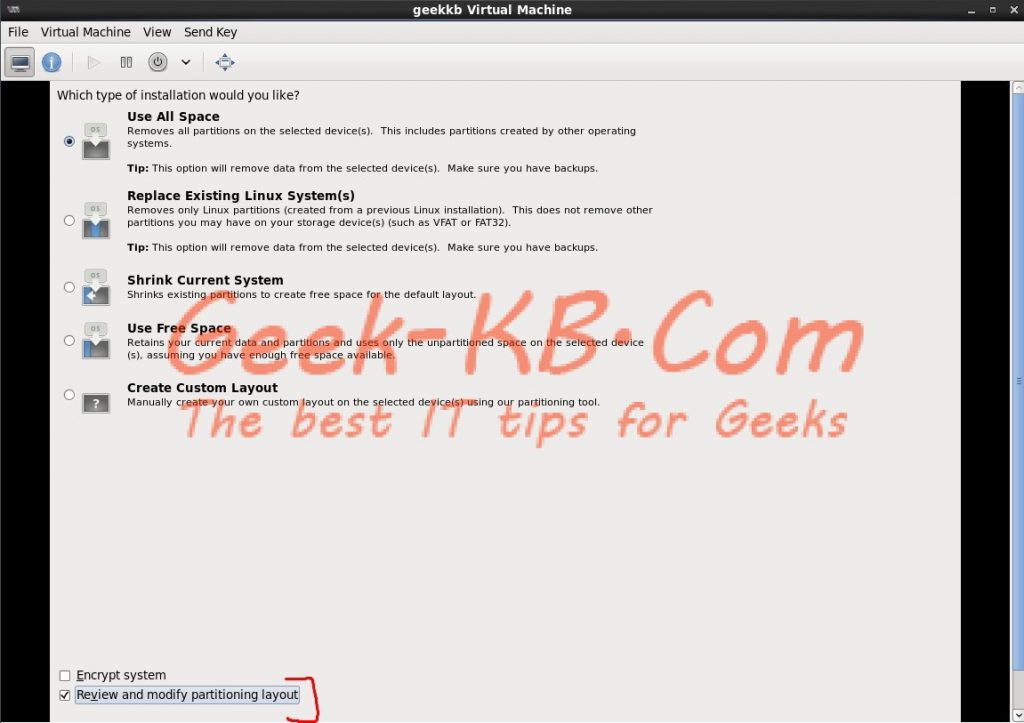
Step 10
Choose the type of installation you would like to do as well as partitioning layout, in my case I always mark the “Review and modify the partitioning layout”, then click next:
How To: Install CentOS 6.4 step by step with screen shots – Geek-KB.com
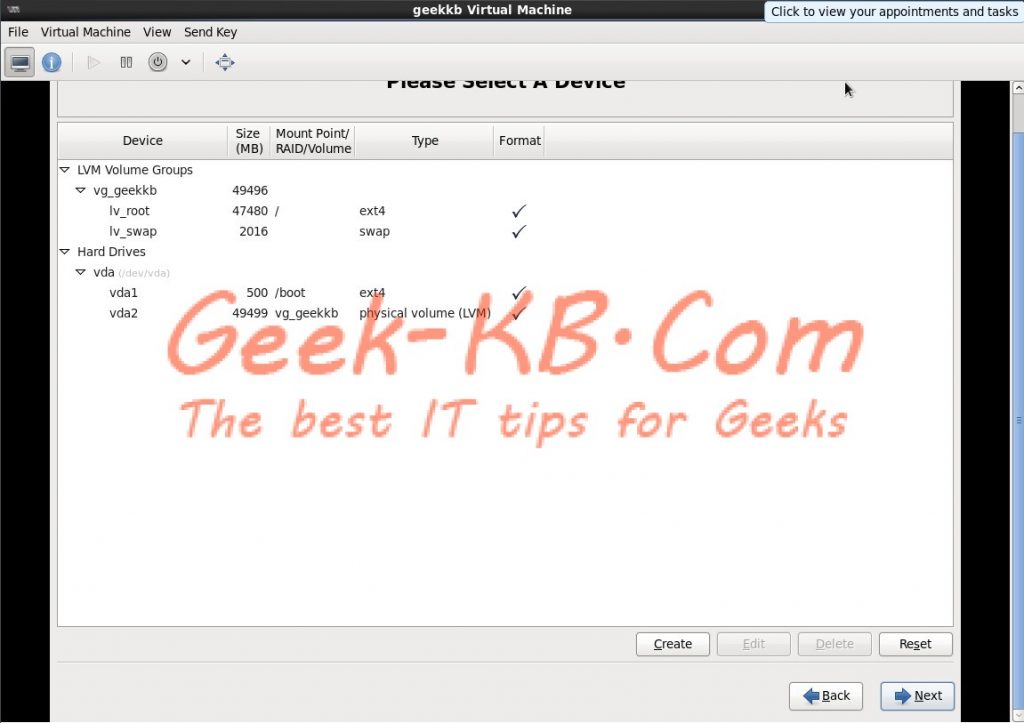
Step 11
The default partitioning layout is displayed for last one inspection, if you would like to make any changes then now is time, click Next:
How To: Install CentOS 6.4 step by step with screen shots – Geek-KB.com
For example, let’s say I have 8gb ram in my machine and the default layout gives you only 4gb swap space, In that case I would take 4gb’s from the /home partition and add it to the swap partition.
If the layout is good for you, then simply hit Next.
Step 12
In this next step, you’ll be asked if it’s ok to format the drive, if it’s ok click ‘Format’:

How To: Install CentOS 6.4 step by step with screen shots – Geek-KB.com
Step 13
You are required to approve the partition layout changes, choose ‘Write changes to disk’:
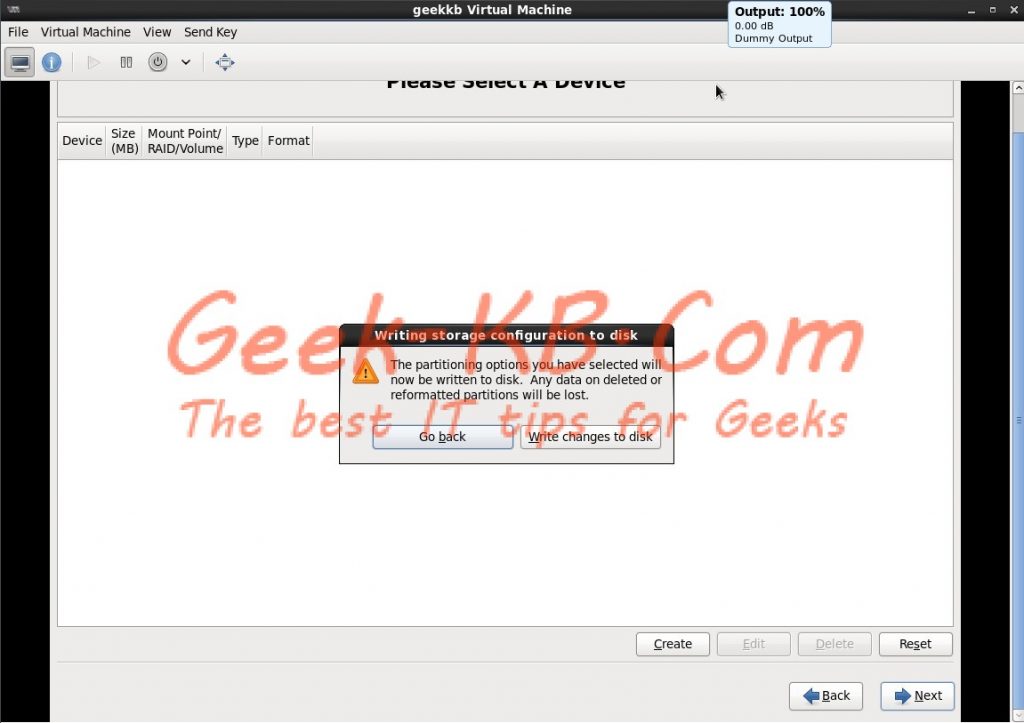
How To: Install CentOS 6.4 step by step with screen shots – Geek-KB.com
Step 14
Choose where you would liketo install the boot loader, if the default choice is ok with you then just click ‘Next’.
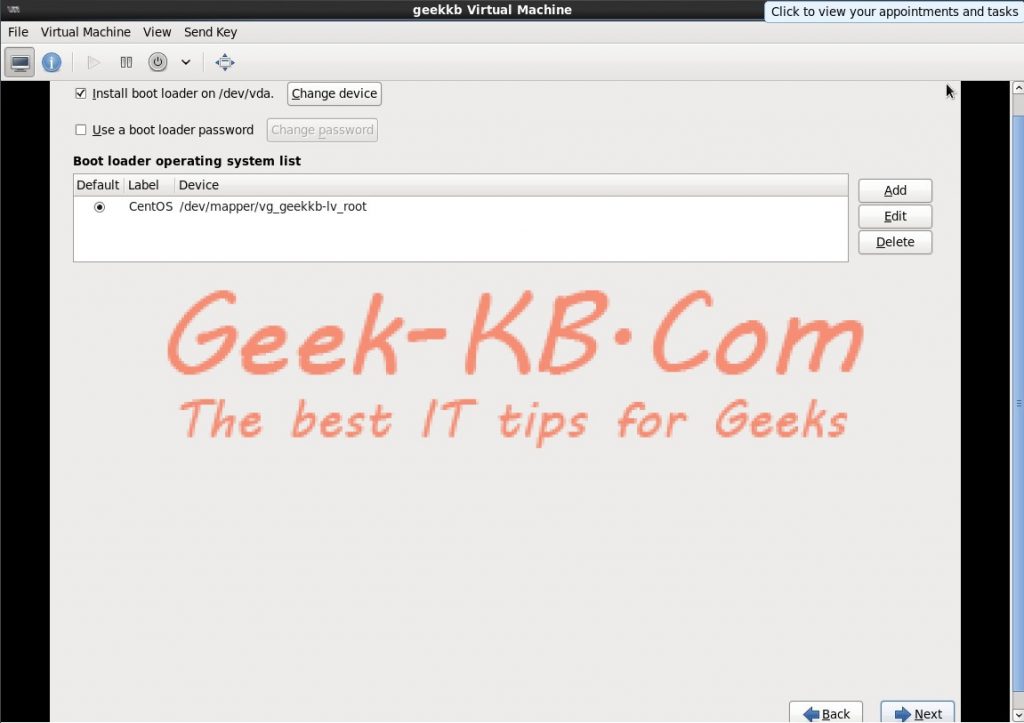
How To: Install CentOS 6.4 step by step with screen shots – Geek-KB.com
Step 15
Choose the type if installation you prefer, in my case I choose ‘Minimal Installation’ and then Next:
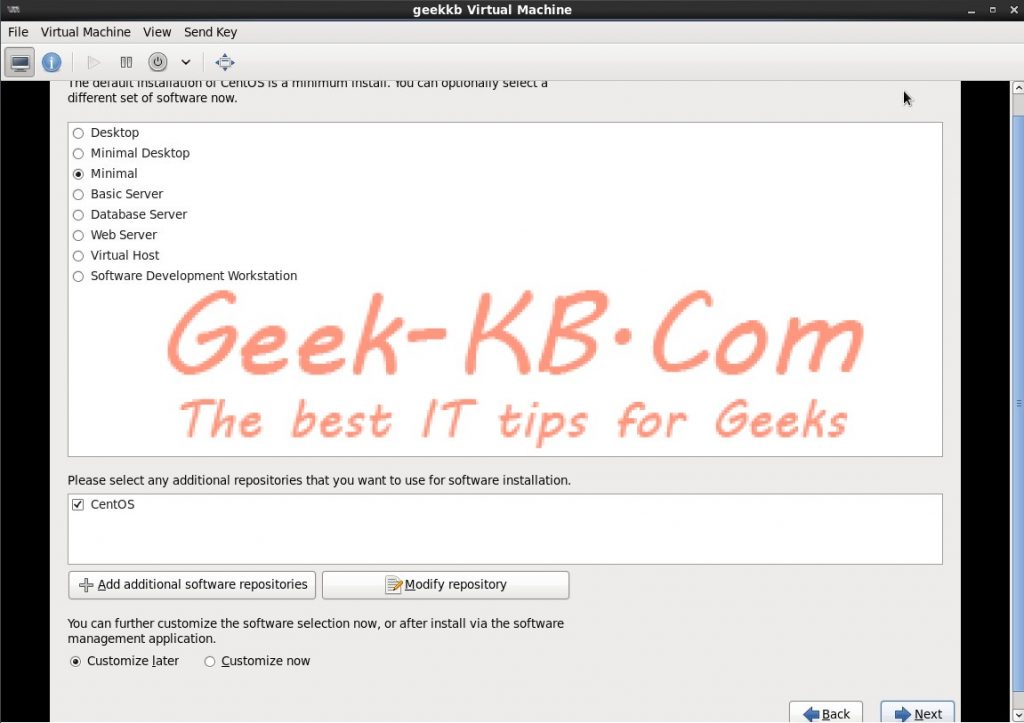
How To: Install CentOS 6.4 step by step with screen shots – Geek-KB.com
Which brings us to the beginning of the installation itself:
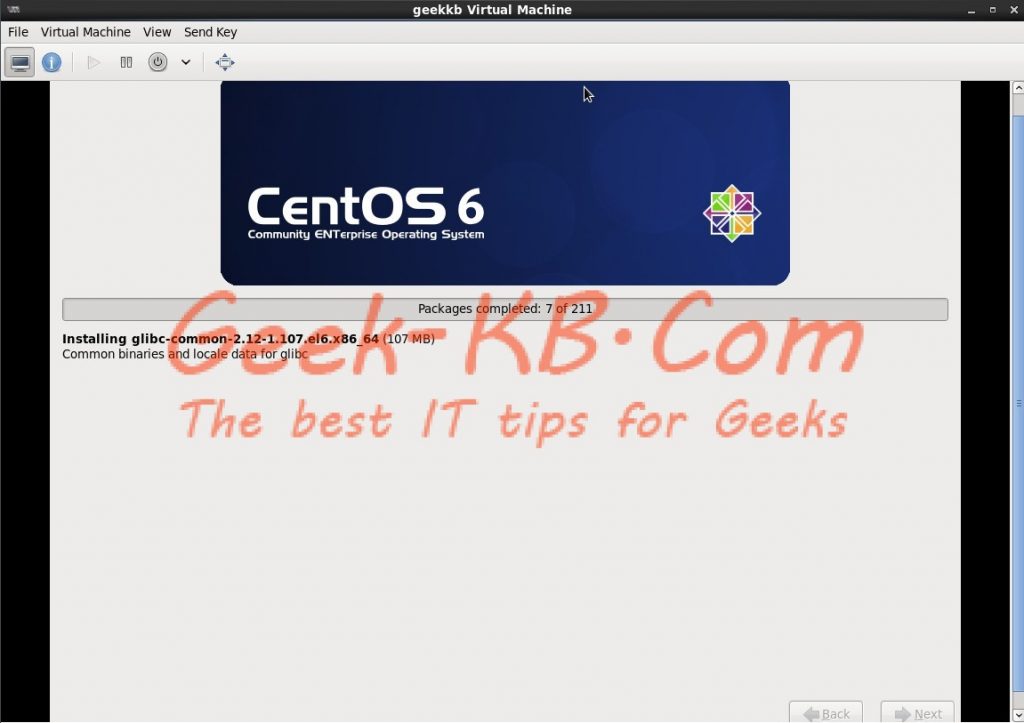
How To: Install CentOS 6.4 step by step with screen shots – Geek-KB.com
Step 16
When installation finishes, you will reach this step:
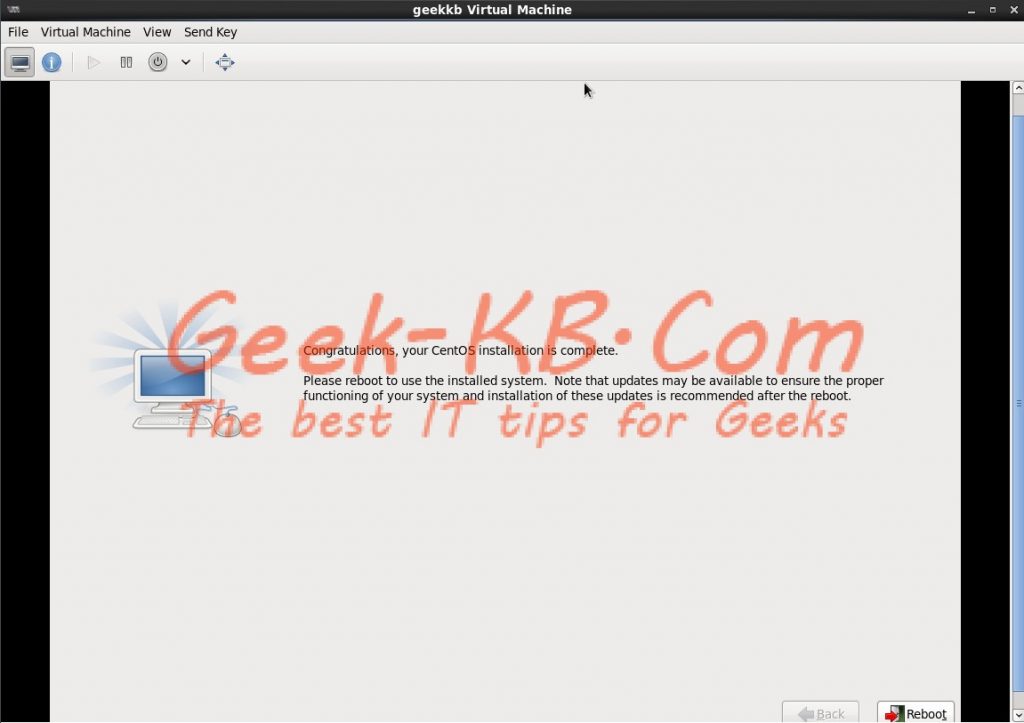
How To: Install CentOS 6.4 step by step with screen shots – Geek-KB.com
Hit ‘Reboot’.
That’s it, now CentOS is installed:
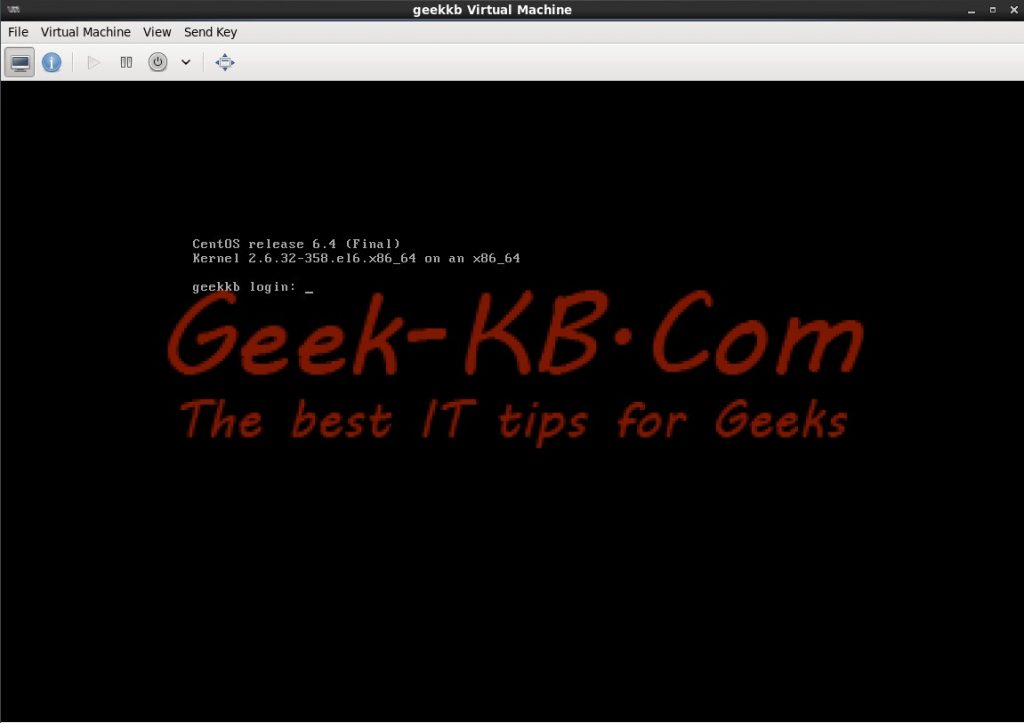
How To: Install CentOS 6.4 step by step with screen shots – Geek-KB.com
Please feel free to leave comments or ask questions!
No Comments Yet